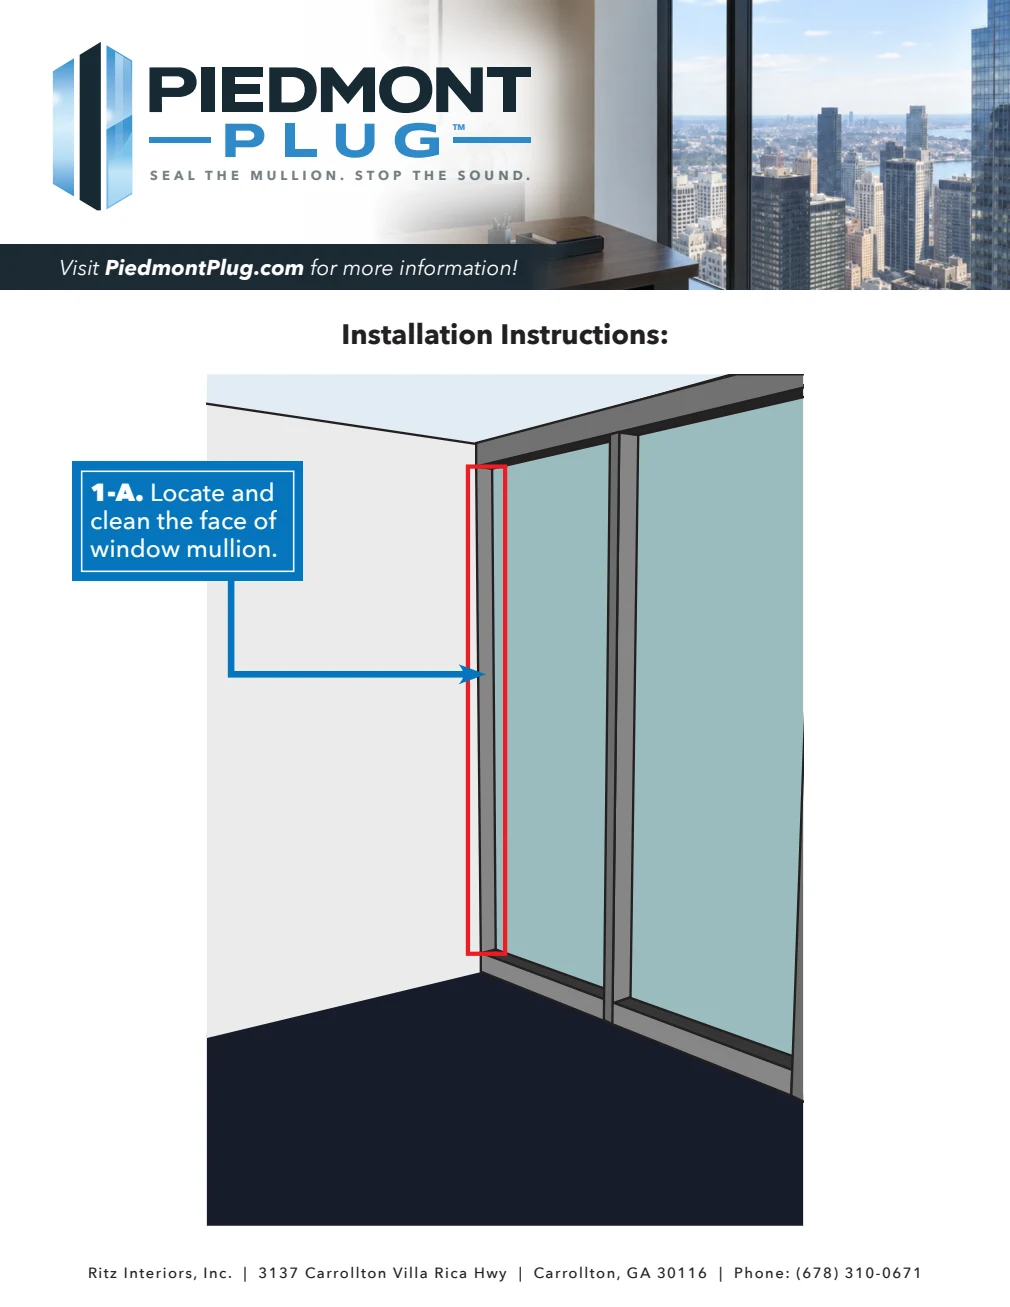
STEP 1A
Locate and clean
Locate and clean the face of the window mullion.

Follow the manufacturer’s instructions for preparing the mullion, sealing gaps, applying adhesive, and fitting the Piedmont Plug.
Follow the sequence below alongside the current manufacturer installation guide.
STEP 1A
Locate and clean the face of the window mullion.
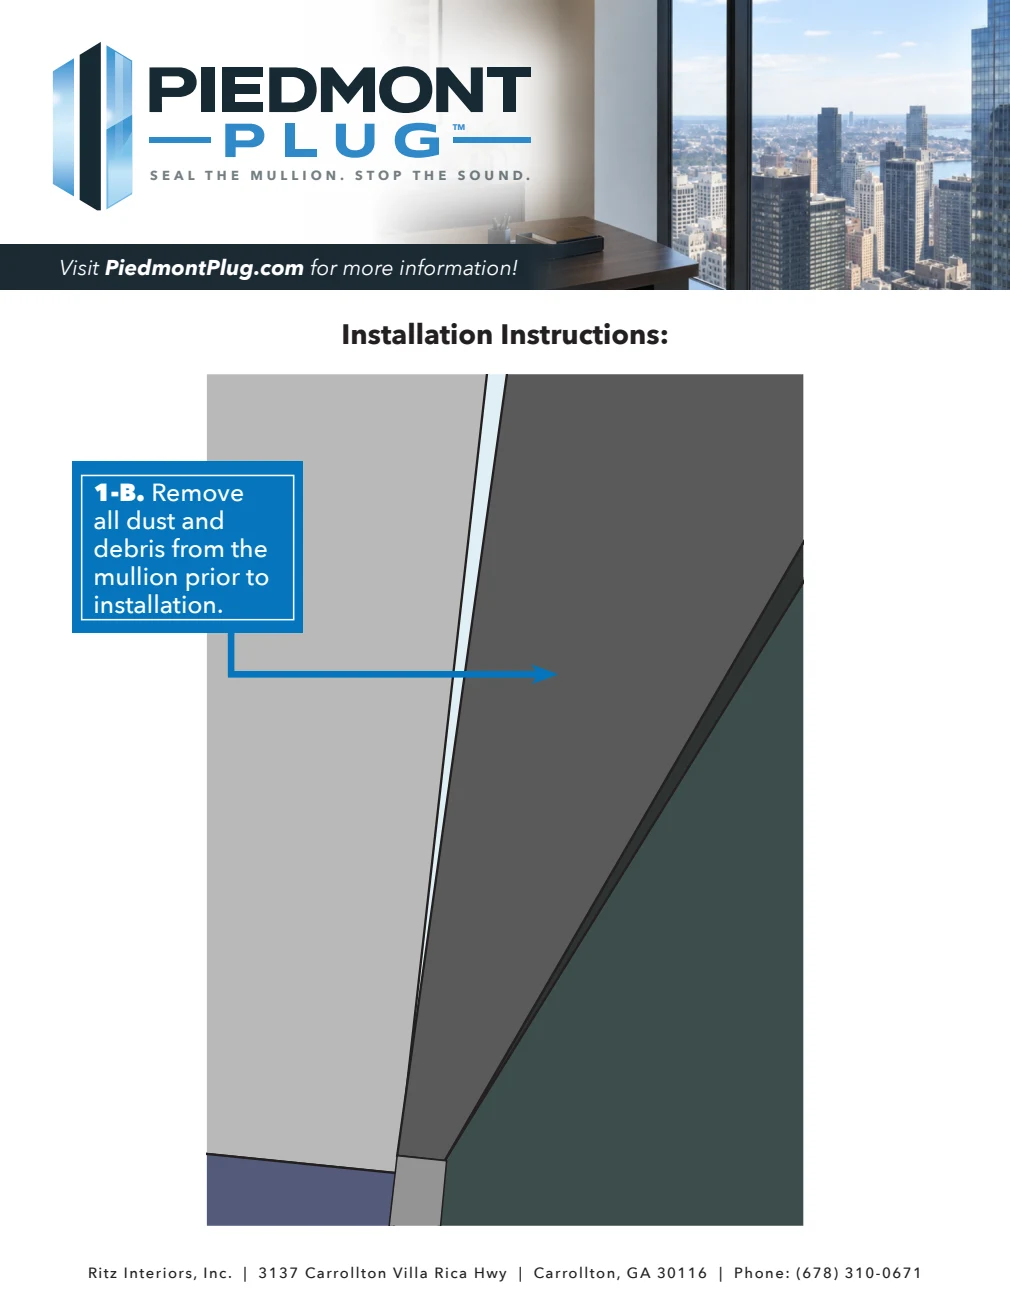
STEP 1B
Remove all dust and debris from the mullion prior to installation.
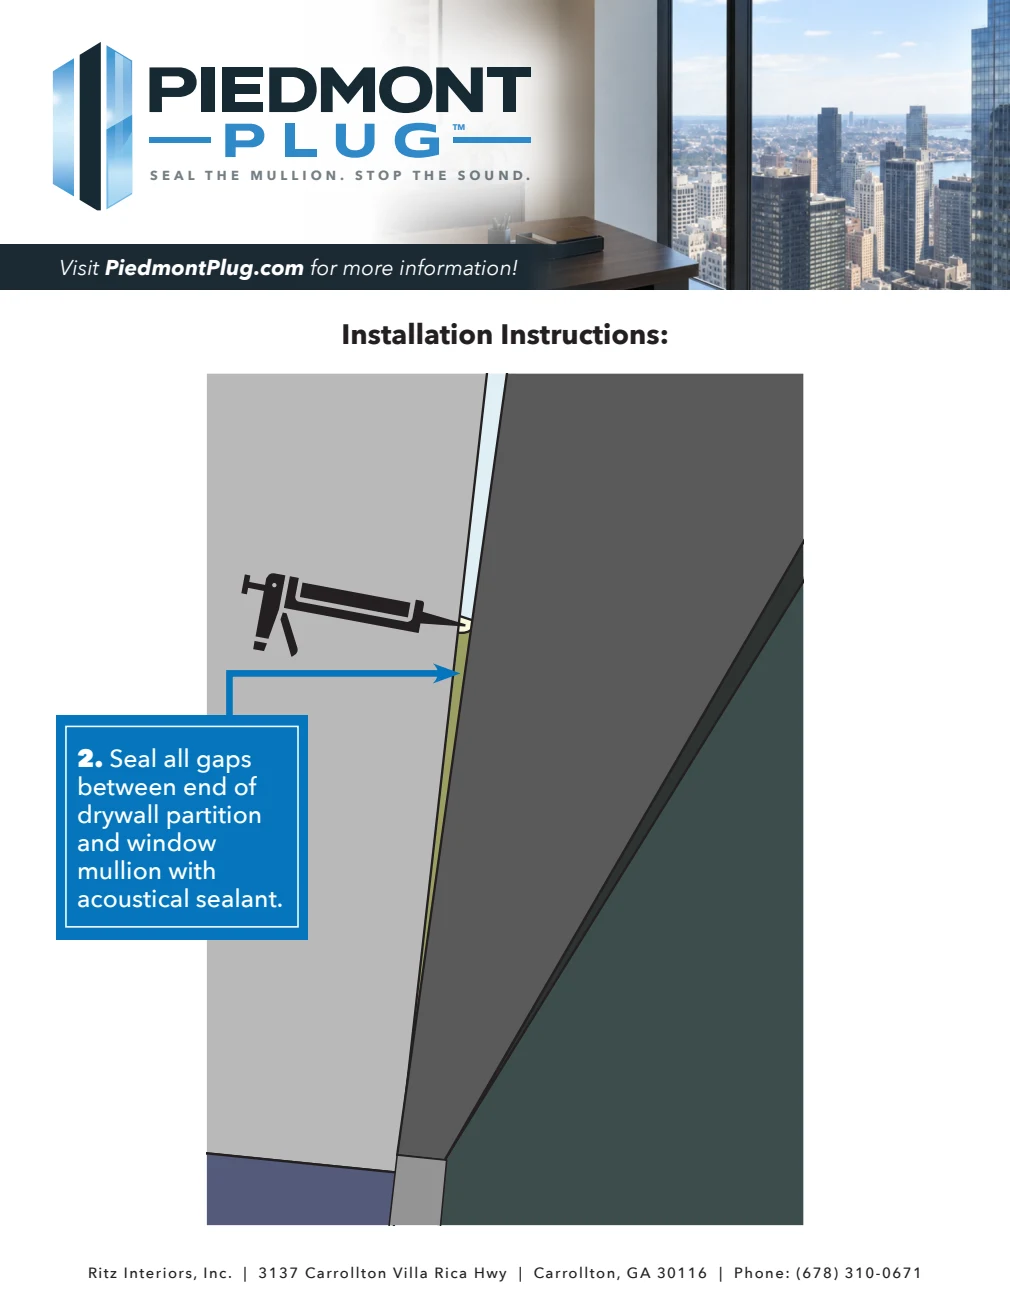
STEP 2
Seal all gaps between the end of the drywall partition and the window mullion with acoustical sealant.
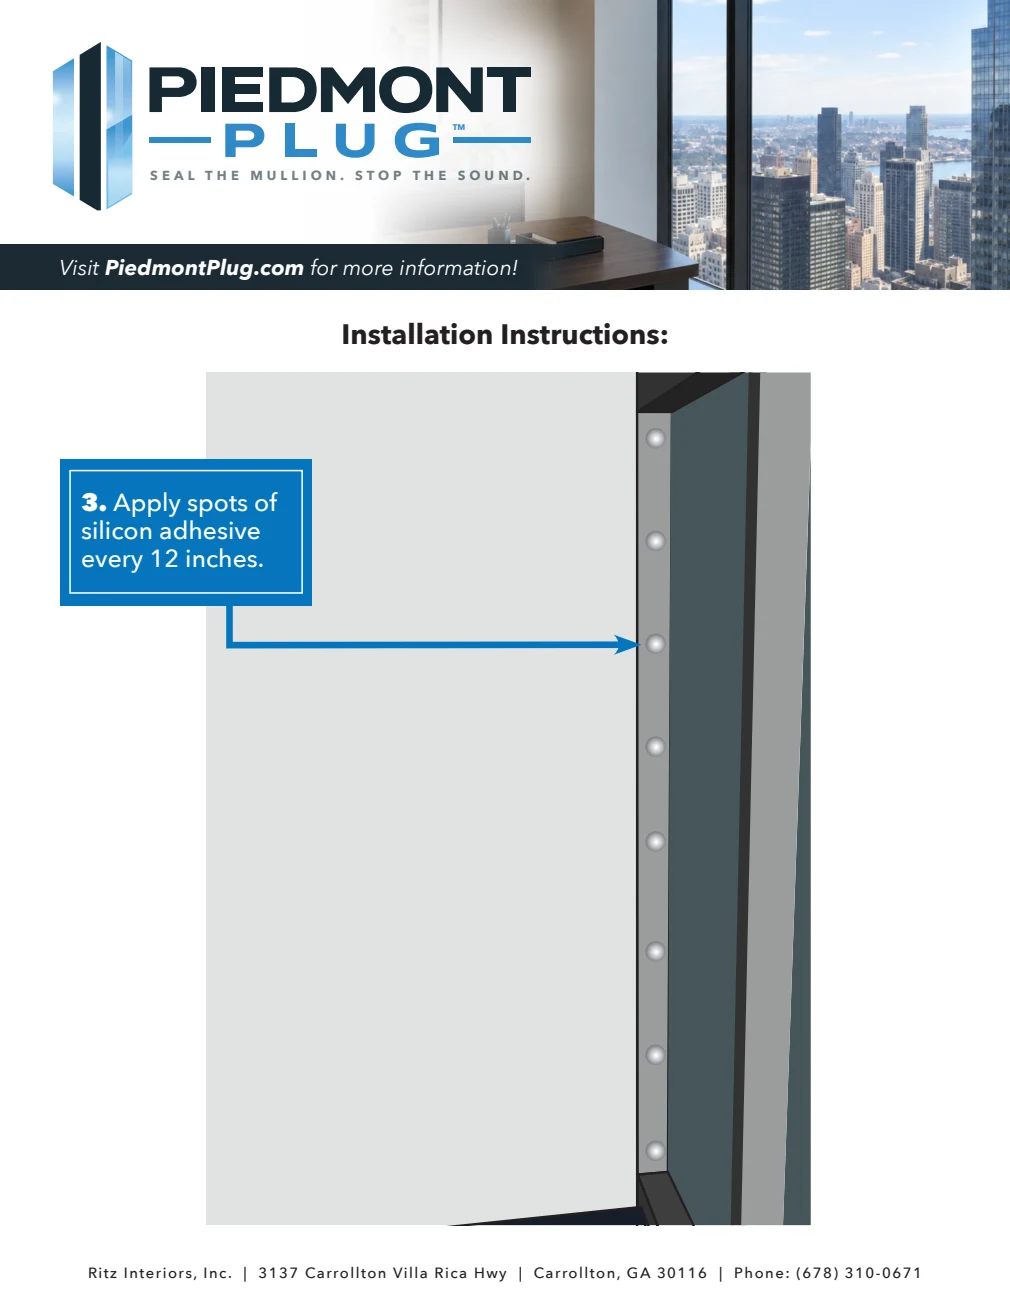
STEP 3
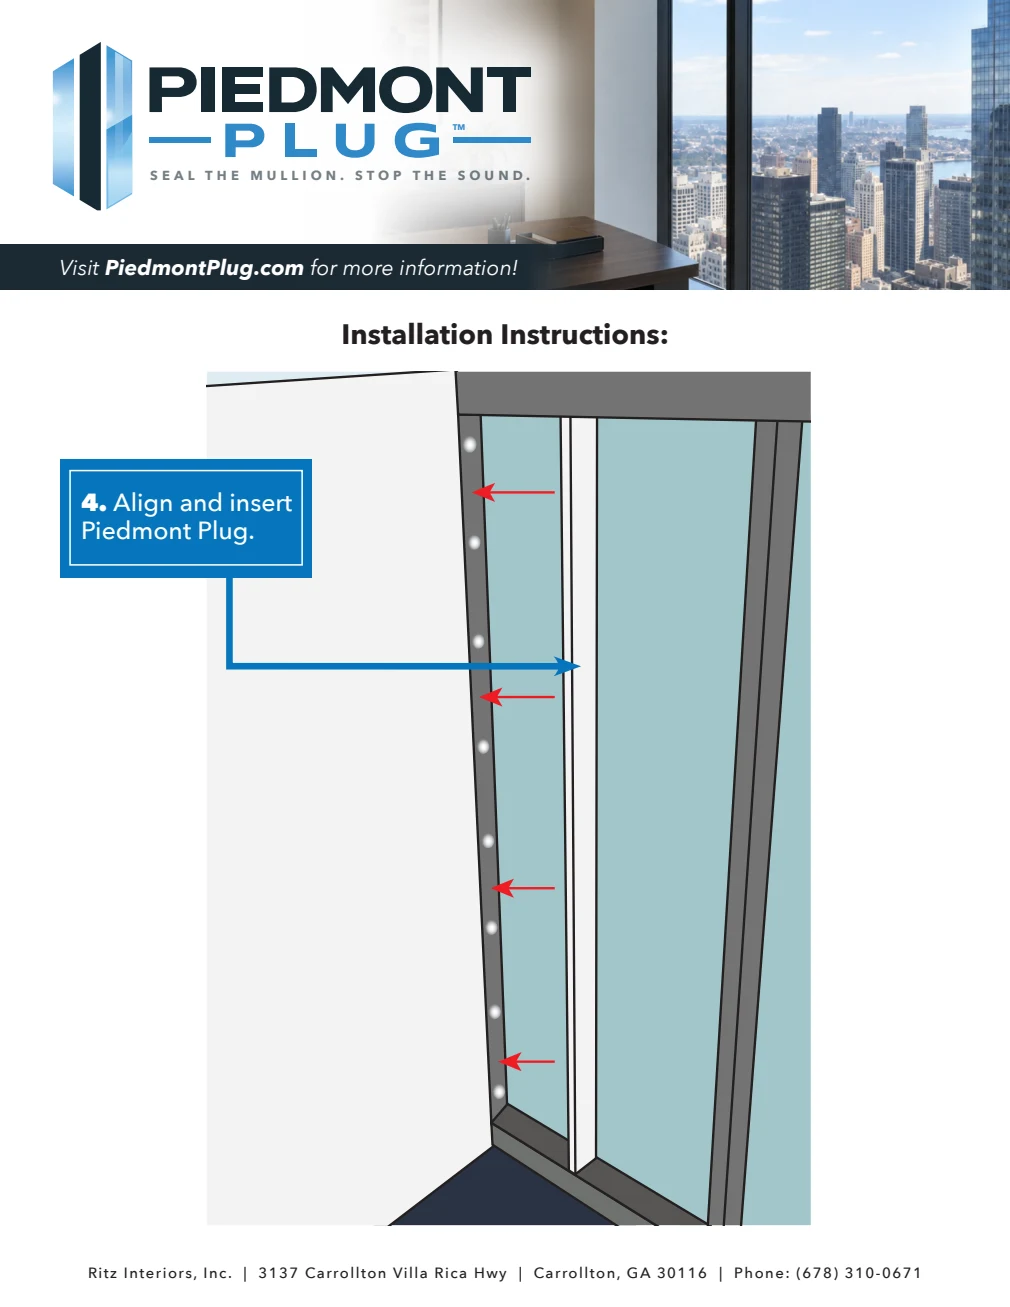
Apply spots of silicon adhesive every 12 inches.
STEP 4
Align and insert the Piedmont Plug between the drywall partition and the glass.
STEP 5
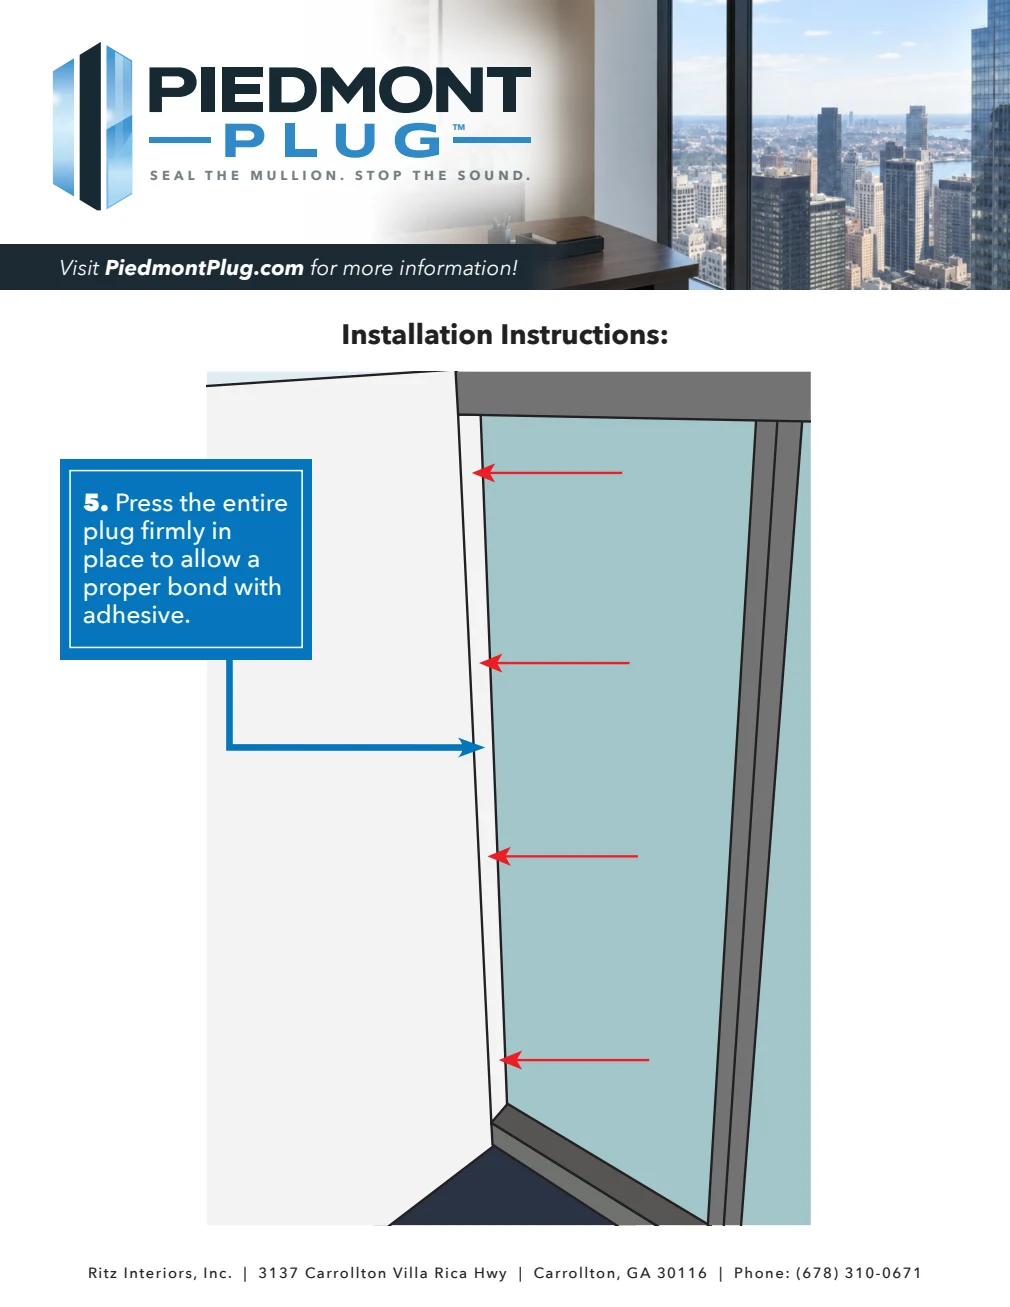
Press the Piedmont Plug firmly into place across the entire height of the plug. Allow the adhesive to cure according to the manufacturer’s recommendations.
Complete
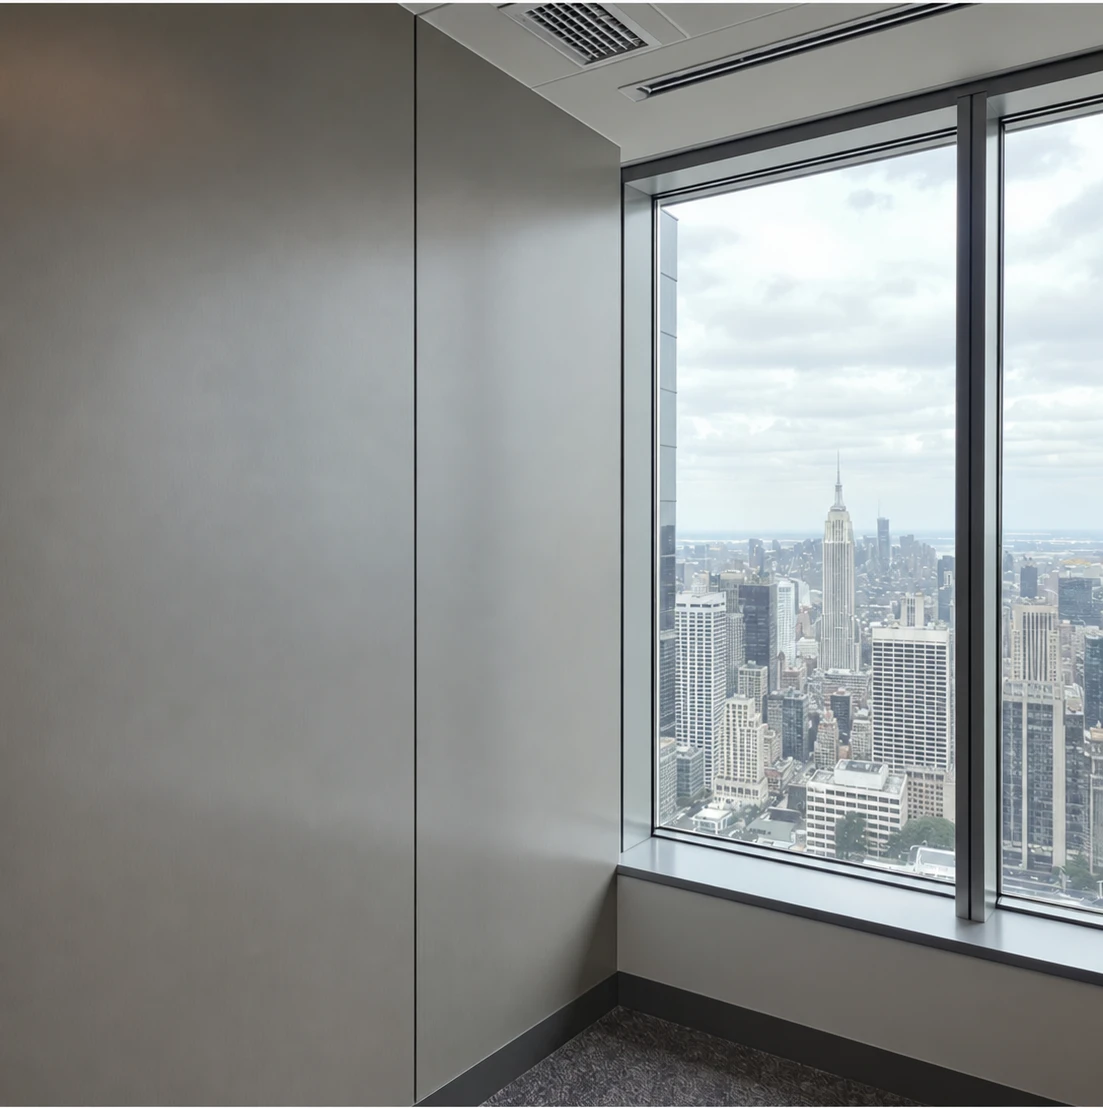
Your Piedmont Plug installation is complete.
Send project information, dimensions or a drawing link for review and pricing.